
This is the first of hopefully many articles on getting your wargaming table ready to go.
I really love painting terrain because it is so easy to make it look good. There’s a balance for wargaming terrain which can be hard to strike. You do not want diorama-quality pieces because in the end they are meant to be handled, can be dropped, and so forth. And you do not really want table terrain to outshine people minis! So, much like the idea of bokeh in photography, terrain should be the background your miniatures have adventures in.
“20 Minute Terrain” really is the goal, for me. To use speed painting techniques as well as a few other ideas liberally stolen from other hobbies such as model railroading in order to get good looking terrain on the table quickly, so you can spend more time on your miniatures…and gaming!
Today, we’ll talk about priming and painting on-sprue. For terrain especially, I feel on-sprue painting is the way to go. Not only for the purposes of speed, but also as you grow older your hands are no longer as steady as they once were! Additionally, the sprue itself makes a nice handle, to minimize how much paint you get on your hands. And arms. And pets.
I prefer rattle-can spray paints for my primer coat and my base layers. I use the same techniques for minis painting, so you may cringe away. But you do not have to do what I do there! I will hit the terrain with whatever undercoats I want to build up, then go in with my brush or airbrush work to finish the piece.
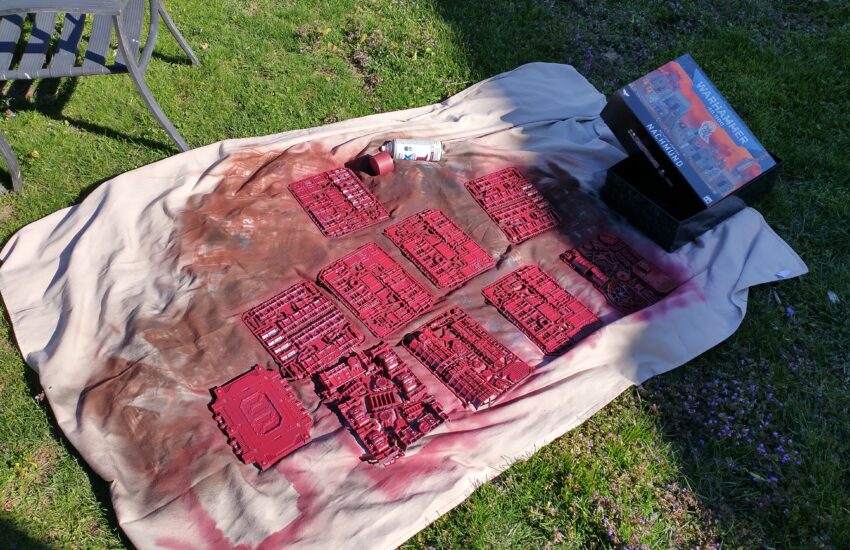
Important Lifehack – When you have a good “priming day”, PRIME EVERYTHING. Even if you place it back into their boxes, you’ll now be ready to go on those rainy days! This is why I also prime-on-sprue for my miniatures. I can touch up anything after I clip the parts off.
Use fast, light coats for both rattle-can OR airbrushing. No need to rush, just get your coats on and let things dry. You can even do some wet-blending!
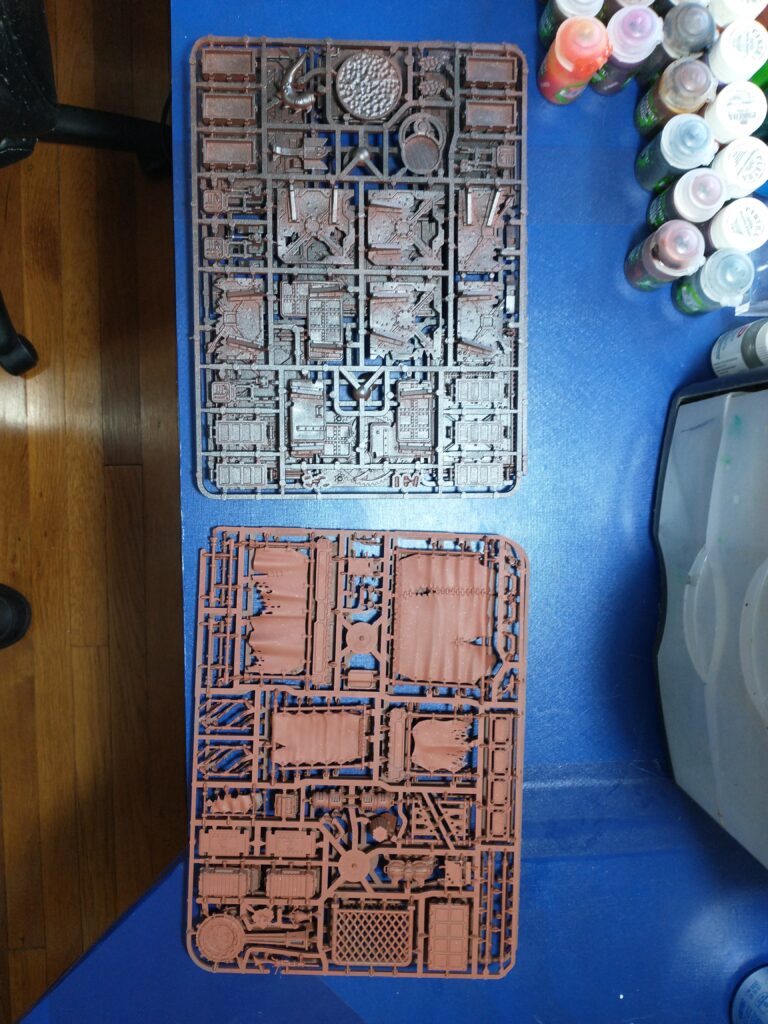
Two pieces of Necromunda terrain, one primed with Krylon Rusty Metal Primer, and the other with the primer and then hit with Rustoleum Oil Rubbed Bronze. I’m not going to anything here other than smooth light coats. For the metallic, I’m going to add rust effects and such on top, so I’m not worried about perfect coverage. In fact, I do not want that when painting rusty metal parts!
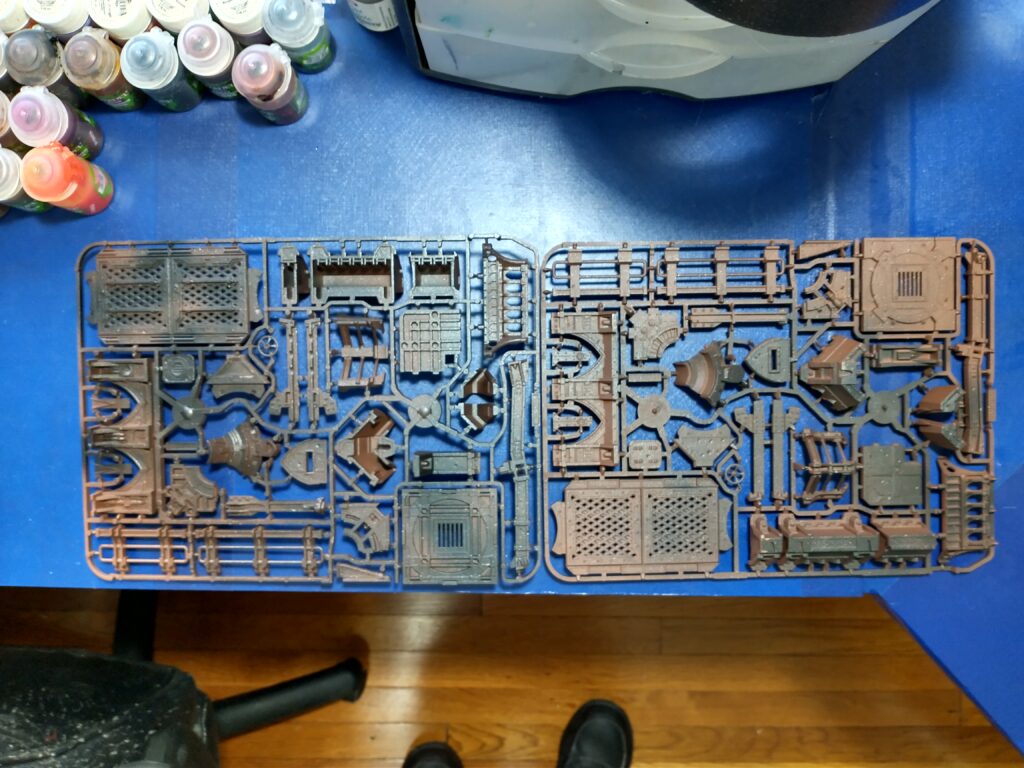
The same Krylon brown, but now with flat black streaks added for depth and shadows.
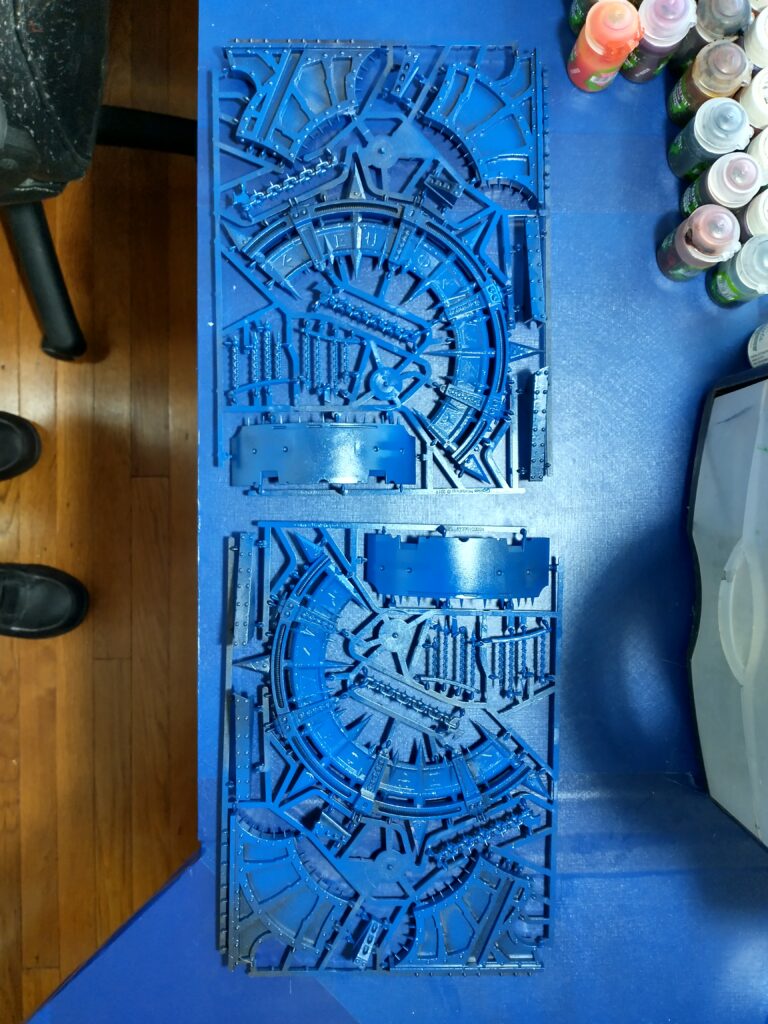
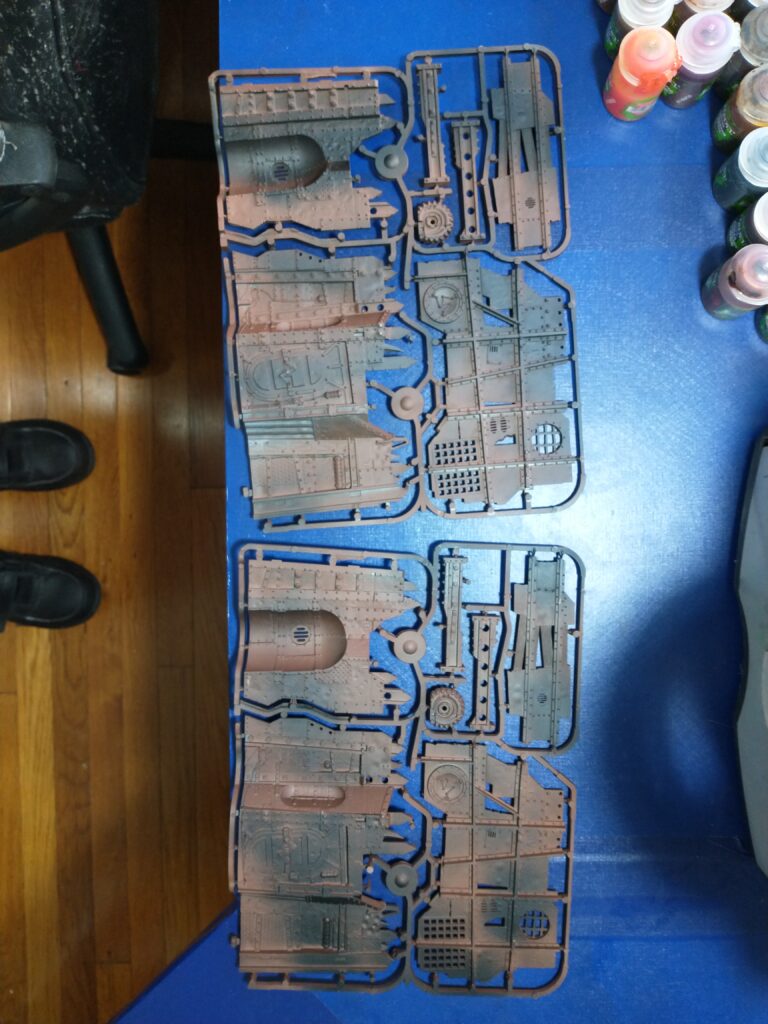
Finally, a three-color combination of black primer, blue overspray, and then a light metallic silver on top.
All of this took about…you guessed it…20 minutes to do on a bright sunshine-y day. Just roll out that drop cloth, lay down your sprues, and spray away. Future you will thank you VERY much.