

I do not set the title of this article lightly. It is the opinion of myself, and many others, that IKEA’s DETOLF display case is the best…mostly because it is highly affordable and incredibly easy to modify! I’ll describe how I assemble mine, and where you can make some additions/changes to suit your needs.
DETOLF was designed to display pieces of art, with plenty of space and a simple lighting system. But with the addition of light strips and/or additional shelves, it becomes a powerhouse display system for minis!
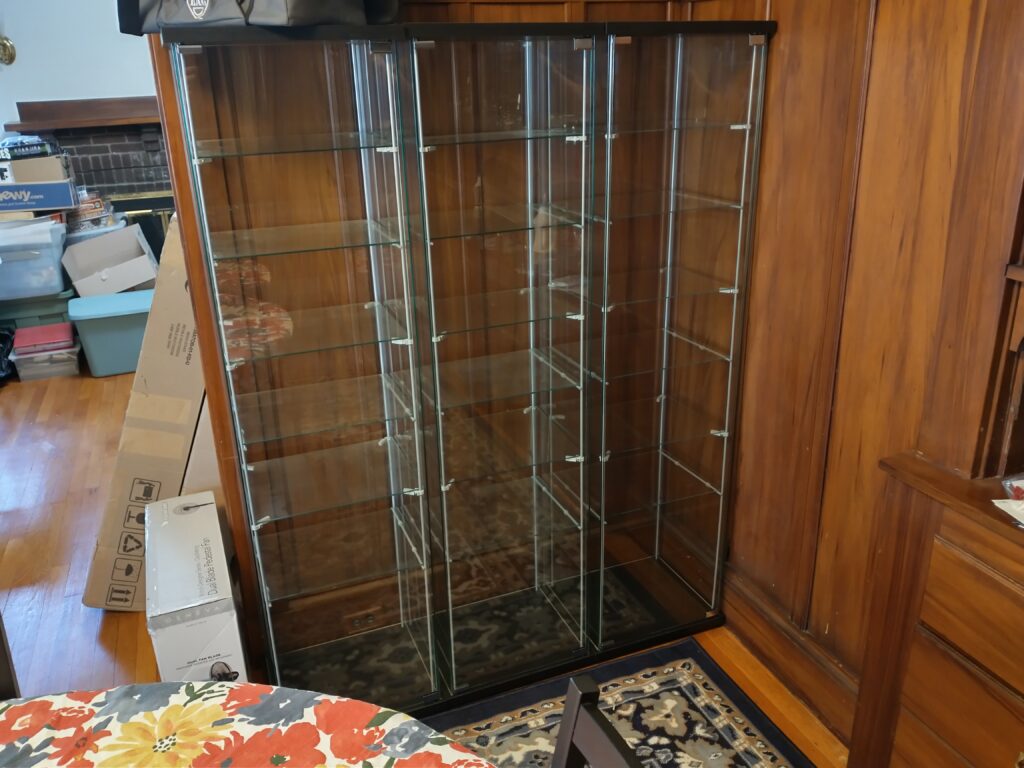
Assembly
First, if you’re going to buy one, buy many. If you’re close to an IKEA, you can pick it up for have it delivered. The delivery charge within about 100 miles/160 Kilometers is very affordable I’ve found. But, in either case (see what I did there?) once you have one, you’re going to want more. And putting them together assembly-line style is really the best way. DETOLF comes in two boxes, one containing the top, base, and half the glass, the second containing the two shelf support ladders and the rest of the glass. You’ll have a lot of cardboard leftover, which you can use for terrain…or just recycle into firelighters*.
This is important – do not do this alone. There’s a section where you will need to hold the glass in place and having a second person available will save you time, grief and quite possibly a lot of broken glass. Safety third**, please and thank you!
Place both boxes either on the floor, or on a table. Old man me prefers a table, as it is easier to pick up and move the somewhat heavy glass pieces safely. Remember: Do not stand the glass on the corner. If you place the glass down, put it on a rug or towel. Go slow, be careful, be aware.
Right here is where you want to make all of your decisions about how you want to add or modify your DETOLF.
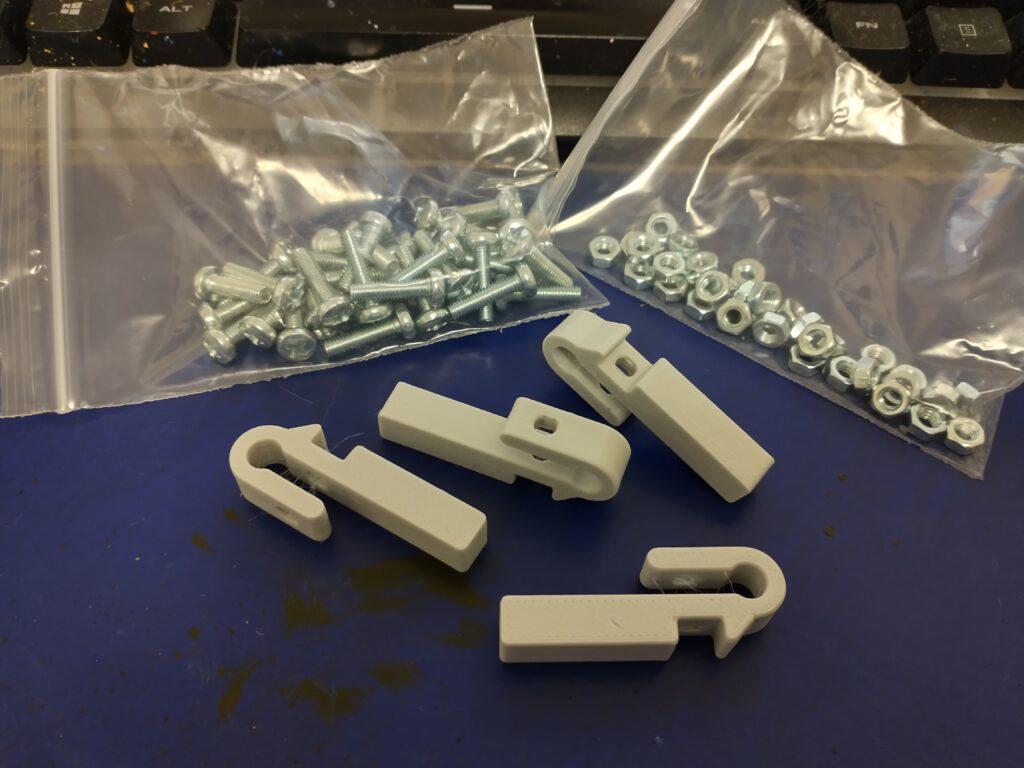
Adding additional shelves is very easy. You can go on Etsy and find dozens of people who will print some 3d shelf brackets, search for ‘detolf shelf’. You can even get them in a variety of fun colors! They assemble with a nut and bolt to provide control over the tension/friction. Snap four of them in place, and you’re set! You’ll want to put them in so the long-end of the ‘U’ is facing to the inside of the ladder. I did mine the other way, and I’m too lazy to change them. If you do not remember, or mix up the orientations, it will only matter to us neuro-divergent folk. So double-check! Do not tighten them up all the way, you’ll want to make adjustments. I found that adding them BEFORE I connect the ladders to the base was much easier than having to bend over to snap on the bottom ones.
Protip #1: Put a small spot of superglue/CA on the slot for the hex nut. This will help keep them in place, and make it a lot easier to get them on the ladders!
Protip #2: Make sure you order from a seller in your region! Don’t order from a UK seller if you’re in the US, etc. Also, if you have a 3d printer, the STLs are available! I suggest a PLA printer, but you could knock ’em out in resin if that’s the only style of printer you have. I own an Ender 5 Pro, and I still bought them because I’m lazy.
As for the shelves themselves, you can find Etsy sellers who will sell them, or complete kits (shelf+brackets). Myself, I use a service here in the US – https://www.tapplastics.com/ It is very important to get the dimensions correct! You’ll want a shelf that is 15″x11″x.25″ (384mm x 284mm x 6mm). Technically, it’s 15.12″x11.18″. People will gleefully discuss*** the proper thickness for a shelf, but I’ve found going the full quarter-inch provides the stiffness to avoid bowing out under weight. You can also have a custom piece of glass cut for you, but that’s much more expensive. If you do go glass, make sure you get the edges beveled for safety!
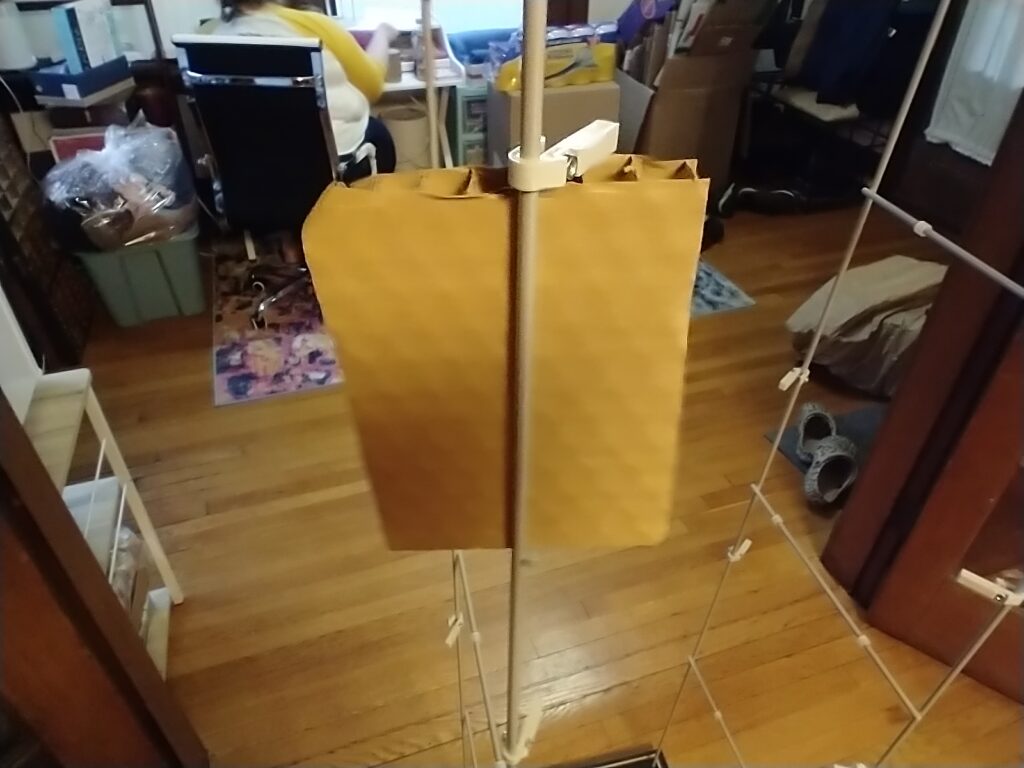
If you want lighting, you can use IKEA’s lighting kit…which is a small light at the top of the case. In my opinion, this is not enough to light up a densely-packed minis case. But if you’re only putting in a few large models, it might be fine for you. Otherwise, you can run a set of the widely-available LED lighting tubes/strips down each leg of the ladder. It is important to note that the shelves and such are going to face inwards, so put the strips on the outside. Check the picture below to see how the ladders look with brackets. If you are both adding lighting and extra shelves, put the shelf brackets in first. Remember, the hole for power is at the TOP of the case! You will need to run all your wiring out of there. The hole is not large enough to put an extension cord through, so figure out your wiring before assembly. There are many guides on the internet, search for something like “detolf lights” to find them.
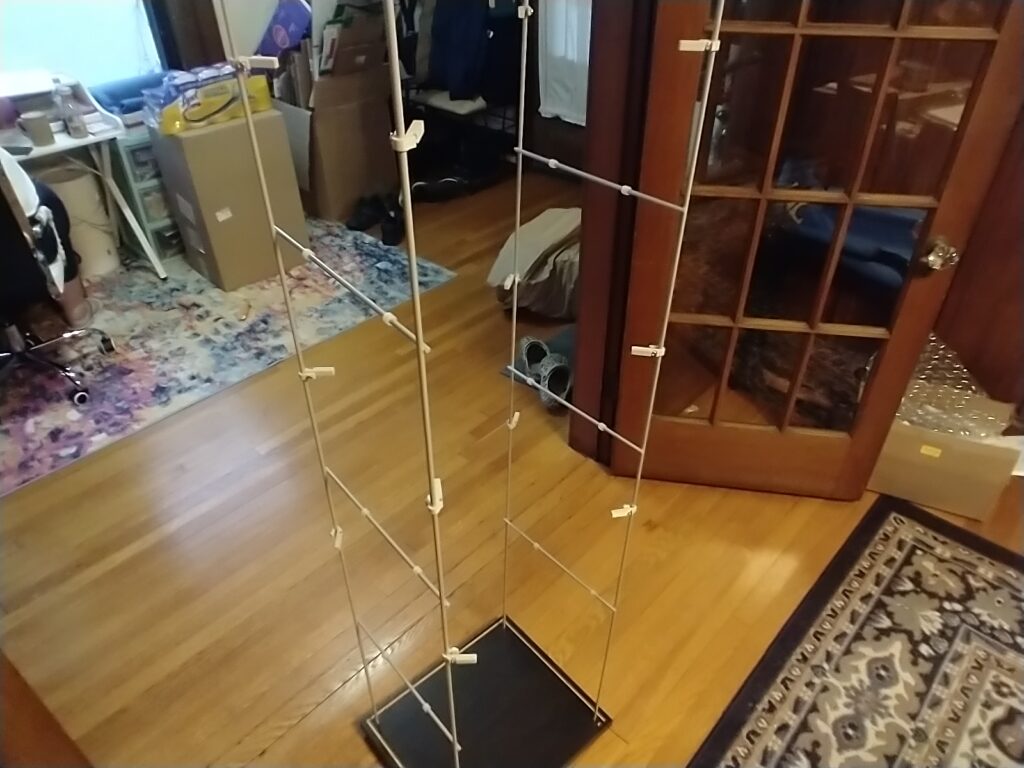
The two ladders go into the piece of wood-product without the light hole. You will have four screw end-caps that go on the ends of the ladders. Please, screw these on as tightly as you can. You will be covering these with the plastic feet caps, and it’ll be a pain in the arse to go back!
This is the point where you want someone else to help. You need to put the back glass on first, then the two plastic “L” strips, then the two side pieces. It is important to orient the plastic strips correctly, check the instructions on that orientation! Also, make sure to tap the strips down to the bottom, so there’s about 1/4″ space at the top. This is where the glass pieces will fit into the grooves in the top pieces, and it is a PAIN to adjust after-the-fact! So, in order:
- Place the back piece in first, have someone hold it in place.
- Put the two plastic L-strips on, checking orientation and top spacing.
- Put the first side piece on.
- Put the second side piece on.
- Put the top on.
The side pieces go in just like the instructions say. Gently put the first corner into the groove at an angle, then turn the side so the other corner slides into the plastic L-strip. Once you have everything in place, it will be self-supporting as long as you don’t bash it around. Give your helper a snack.
When you attach the top piece, you’ll be able to adjust the tension on the ladder to bring everything square. This is where it is important to note the instructions attempting to tell you not to over-tighten! You do not want to bend/bow the glass sidewalls. Assemble the door, and put it in place. You will need to adjust the tension of the top screw caps to make sure the case is square, and the door closes correctly. Again, watch for the sidewalls bowing.
If you want the door to open to the left, put the hinges on the left. Open to the right, hinges on the right. If you plan on never changing the orientation of the door, you can glue the two magnetic latch parts into their respective holes. I don’t really advise this, as you never know what you’ll want to do if you end up moving!
I cut a piece of leftover cardboard to the height I wanted the spare shelves (about 7 inches, give or take) and put the brackets roughly in place. Then, after I put the cabinets where they will live, I made final adjustments and tightened the brackets. Make sure they’re decently tensioned, especially for heavier weight! It might seem like they’re stiff in place and will not move, but better to be safe than sorry.
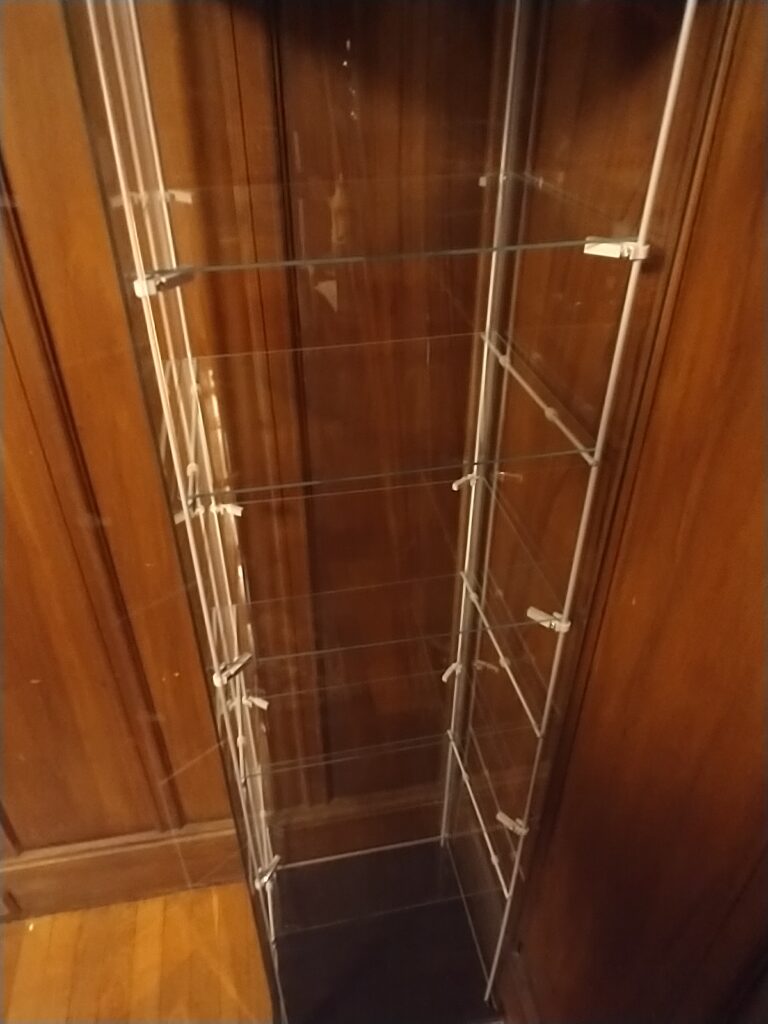
I chose not to put the fourth extra shelf, as the bottom of the cabinet is the most out of view, and bending over to see things is a pain. I use them for large display items.
And there you have it. Note the tops of the cabinets also make for great display space! Or for cats. Your choice. Well. Not really YOUR choice.
Questions? Comments? Add ’em below, I’m happy to answer any DETOLF question(s) you might have!
Footnotes:
Footnotes:
* Douglas Adams
** Safety Third is a concept that says if you try and do 'Safety First', you'll never get anything done.
*** argue
What a timely post! I’ve been looking for a display case that wouldn’t break the bank, particularly with all my D&D and Warhammer minis strewn about my house (not to mention as many more minis from the missus about to be added to the horde), and a little one on the way. I’d like them put away before he’s crawling… Detolf looks like a clear winner, no pun intended. Thank you for this!